How to promote the domain controller 2012
Hello all,
Hope this post finds you in good health and spirit.
This post is about to active Directory installation on Windows Server 2012.
How to promote the domain controller 2012
In my previous blogs, We have installed Windows Server 2012 R2, changed the host name to DC01 and assigned the IP address to DC01 server. Now, in this blog, I will show you how you can install Active Directory with Domain Controller in Windows Server 2012 R2.
Requirements
- The computer must be installed Windows 2008 R2 or 2012 R2 and 2016 Server, standard,enterprise Server or Datacenter editions.
- At least one volume on the computer must be formatted with NTFS.
- DNS must be active on the network prior to AD installation or be installed during AD installation. DNS must support SRV records and be dynamic.
- The computer must have IP protocol installed and have a static IP address.
- Time and zone information must be correct. Simple Network Time Protocol (SNTP) (RFC 1769) synchronizes time on network computers (nodes)
Kindly follow the below mentioned steps to install Active directory domain services.
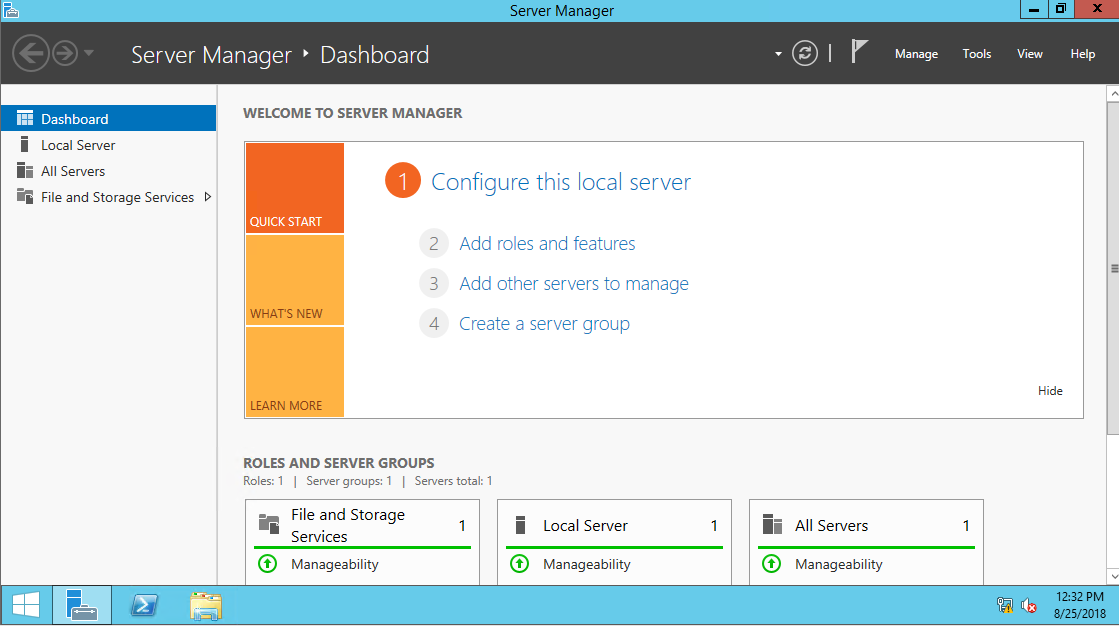
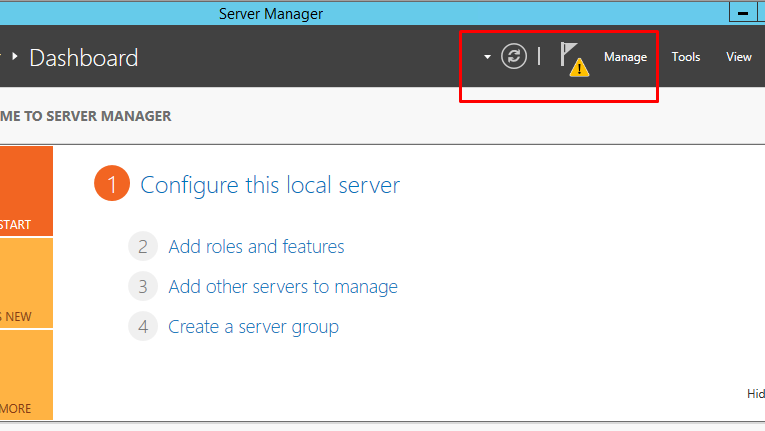
Open the Dashboard in the Server Manager.
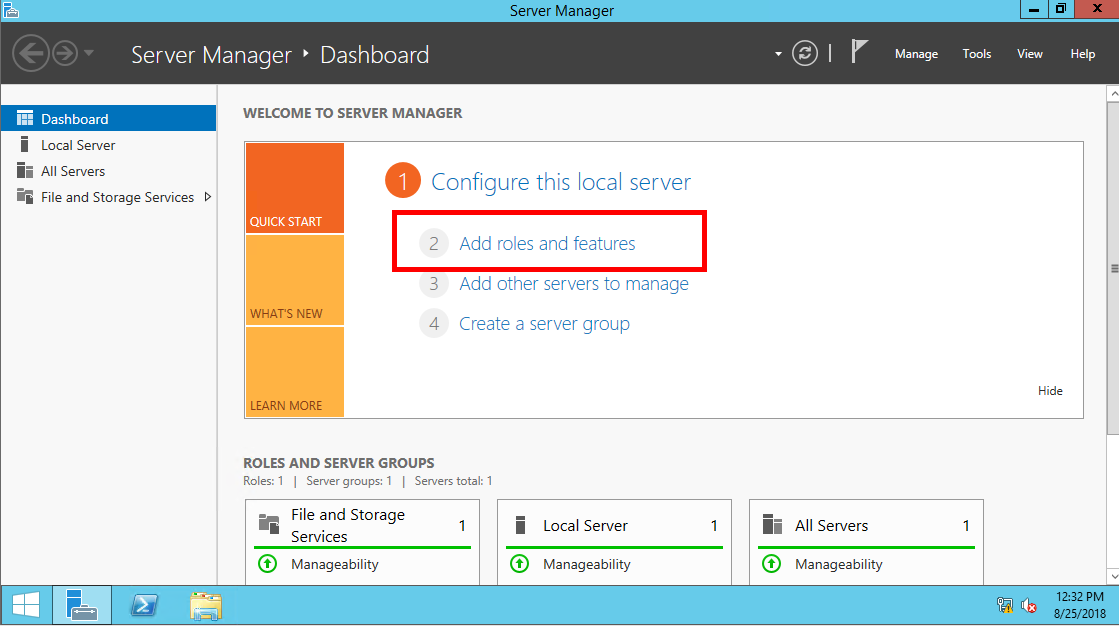
Click on the Add roles and features links from right hand side panel of the screen
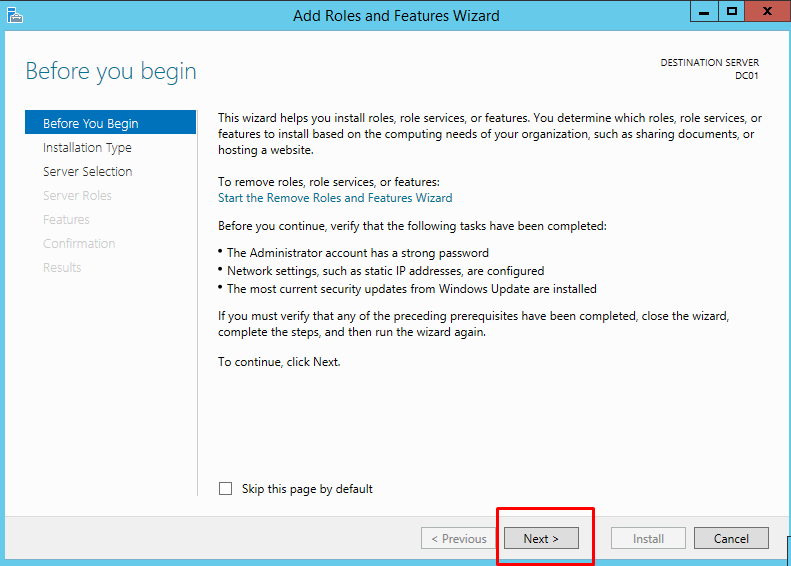
You should be able to see Add Roles and Features Wizard screen. Check the Skip this page by Default check box .
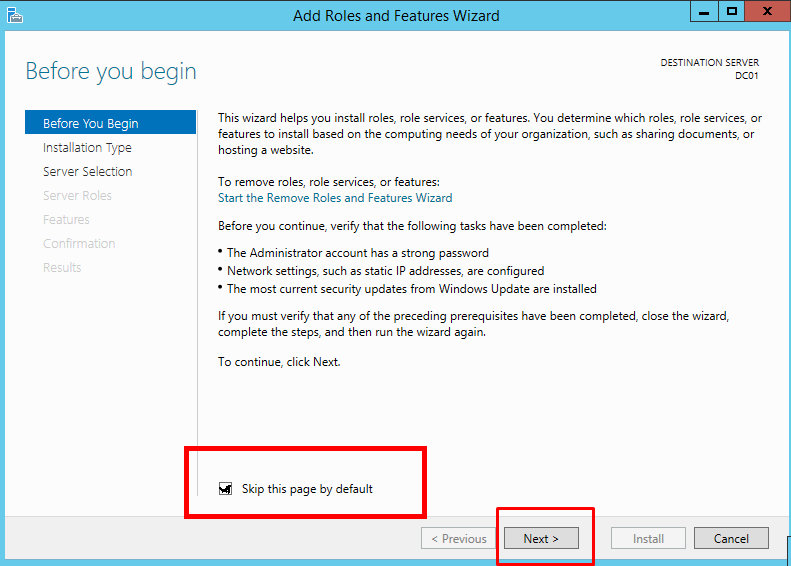
Press Next button.
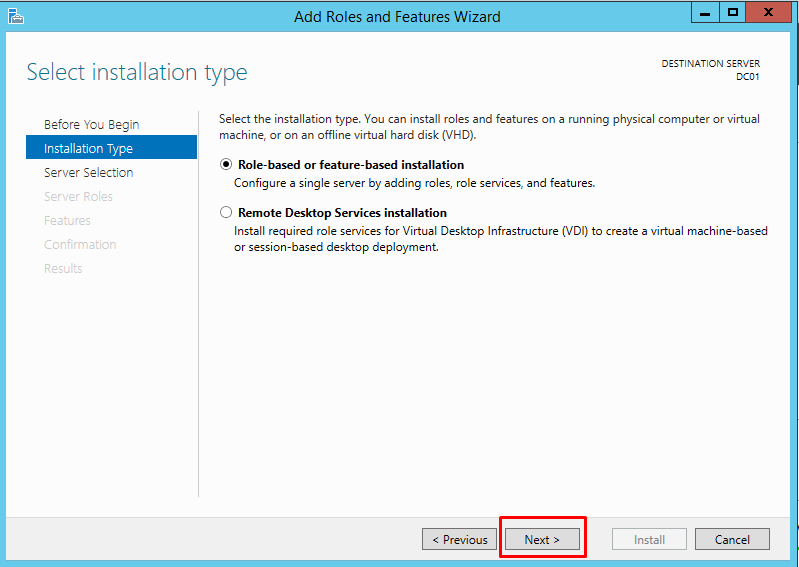
Select the Installation in this screen, Click on “Role-based or feature-based Installation”
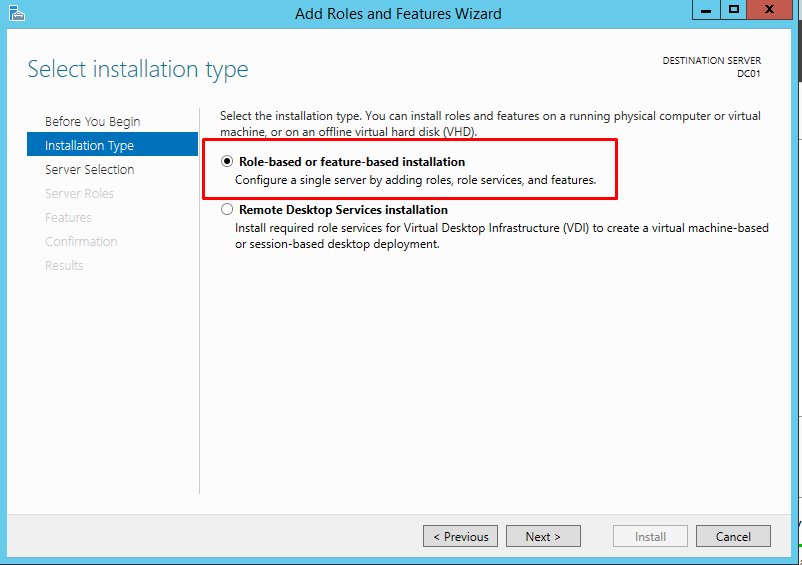
Press Next button.
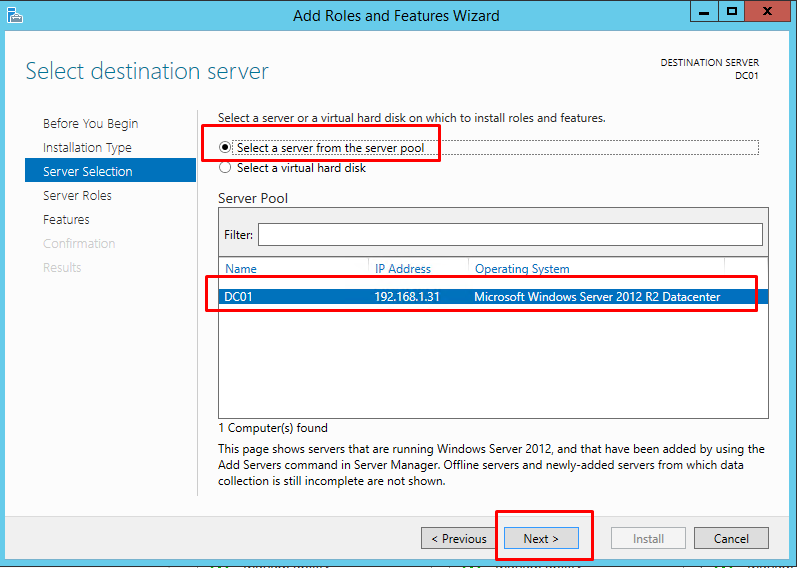
In the following screen, select a destination server from the server pool and press Next button
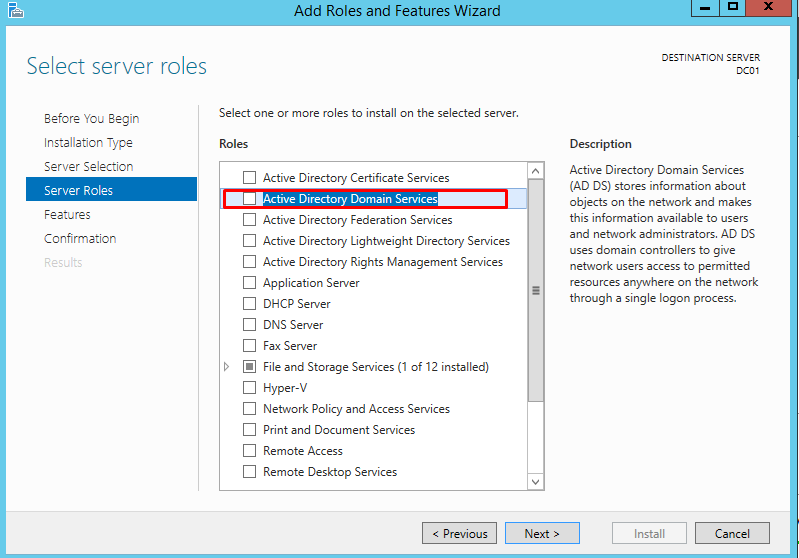
On the Select Server screen, Select the role Active Directory Domain Services.
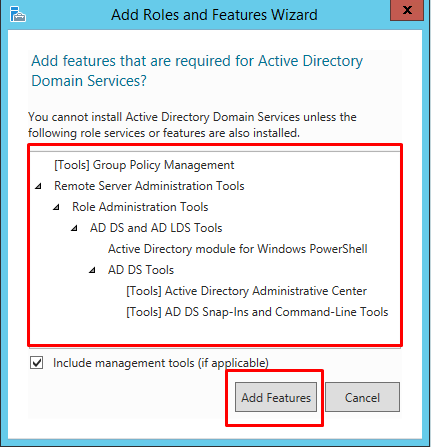
Once you selected the role, you will be promoted to install the prerequisites. Check the Include management tools(If applicable)check box and press Add Features button
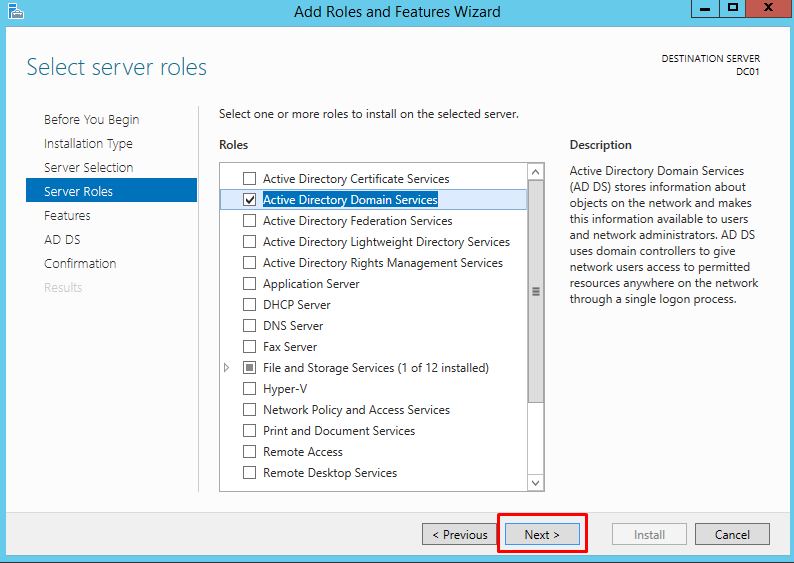
Now, you have installed all the prerequisites for Active Directory.Click on next button.
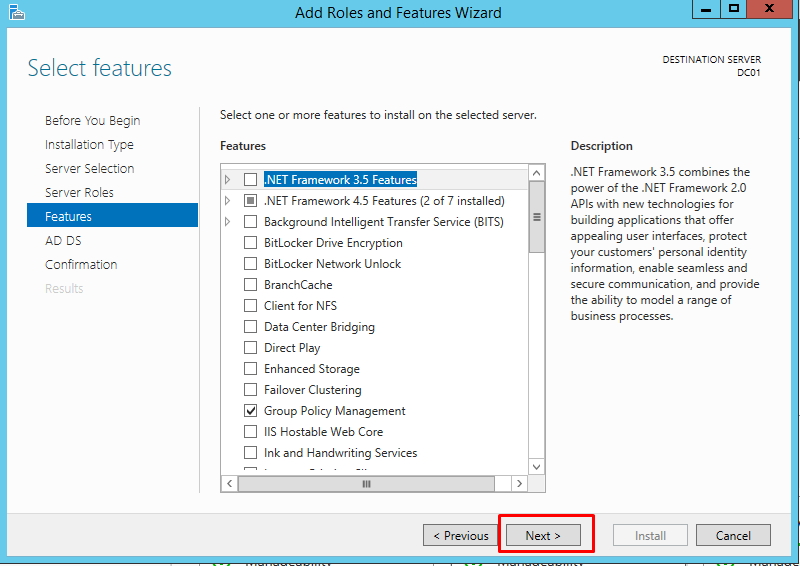
Select the additional Roles and Features if required. Press Next button to continue
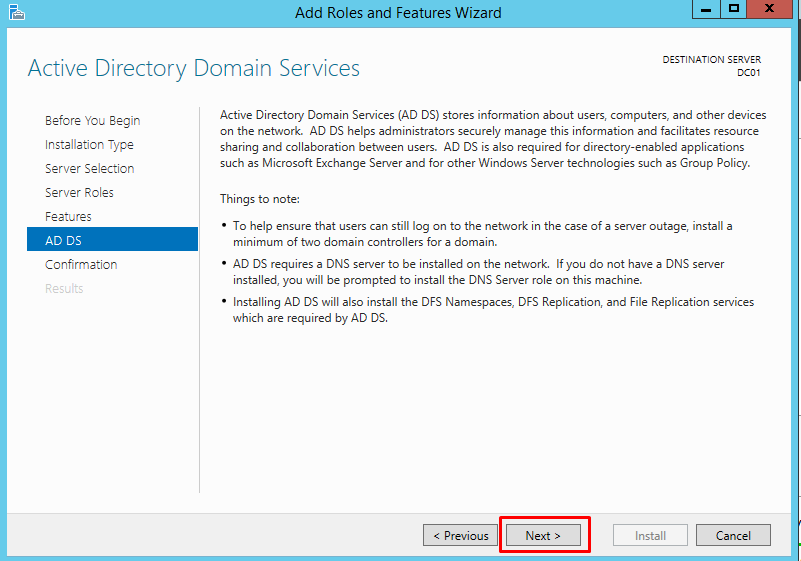
The following screen has information about how Active Directory Domain Services will be installed. Press Next button to continue
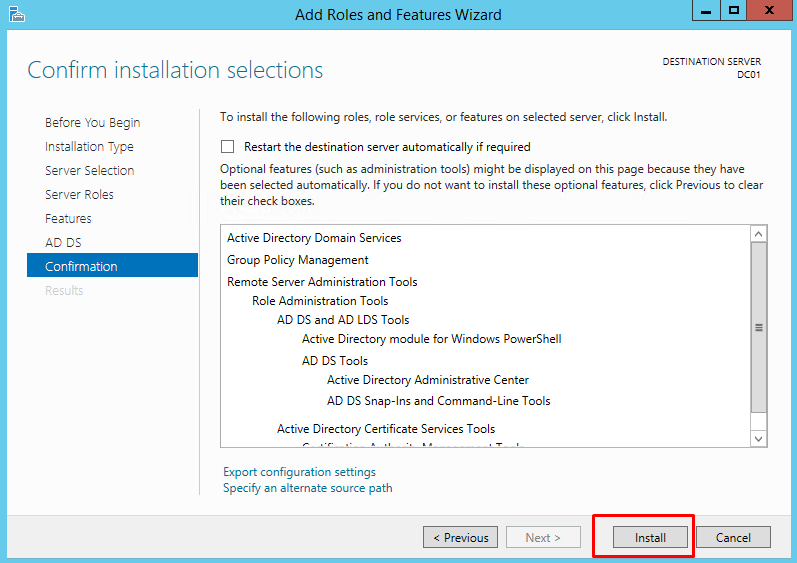
The next screen in Add Roles and Features Wizard is Confirm Installation SelectionsScreen. You can also Click on Restart the destination server automatically if required. and Click on Install button.
Now, Installation process will be started. It takes several minutes to complete.
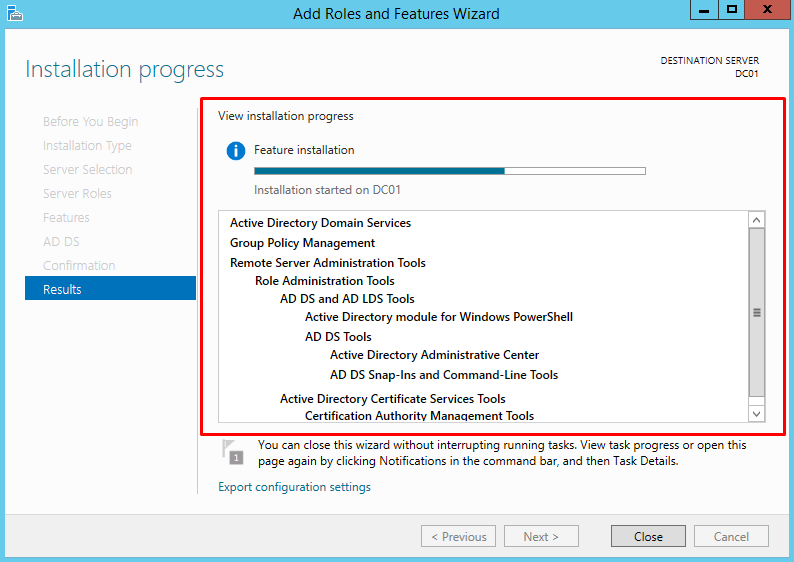
Once, Active Directory Domain Service is installed. you can see the installation results in the screen.Click on close button.
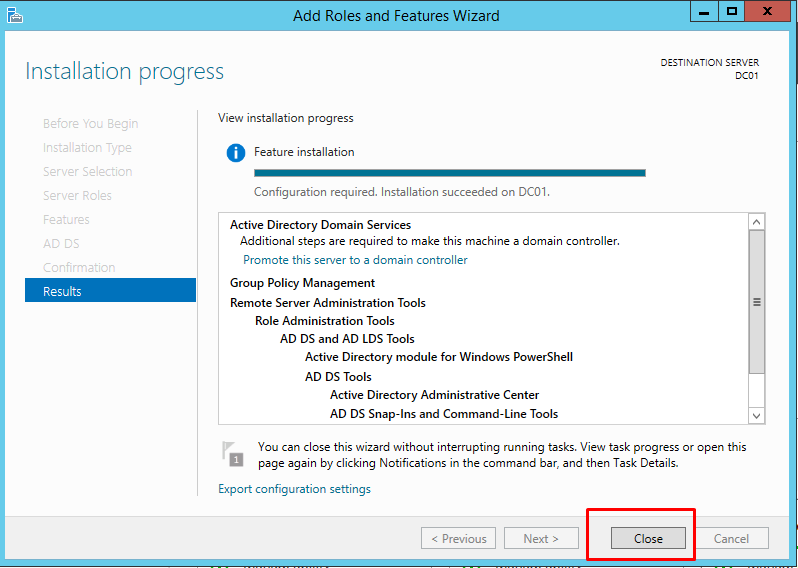
Once Active directory Domain Services role has been installed, kindly open the server manager .
Click on Promote this server to a domain controller to lunch the Active Directory Domain Services configured wizard.
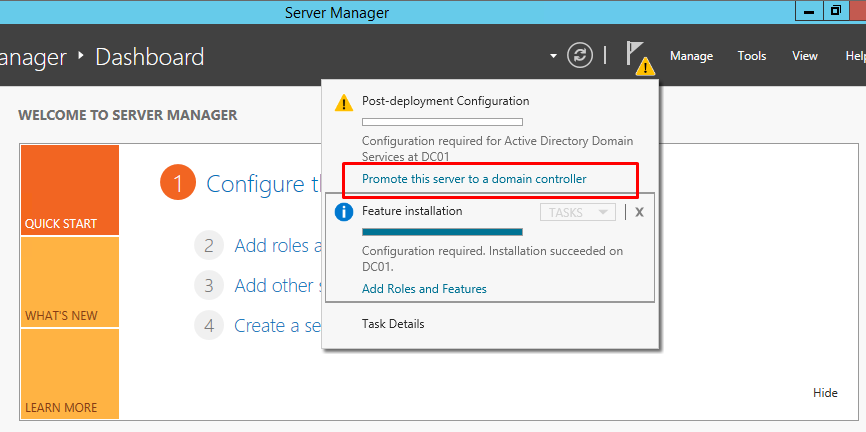
Note : Do not close the screen yet
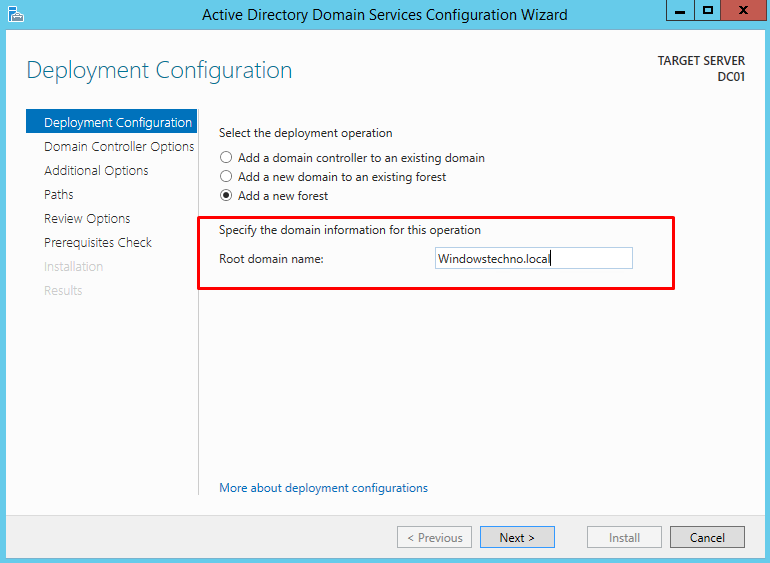
You should be able to see the Deployment Configuration screen.
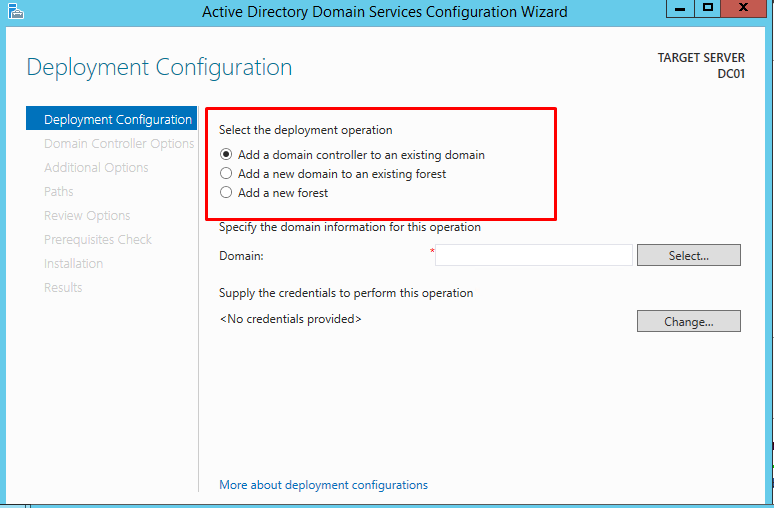
There are three deployment operations-
1 Add A Domain Controller To An Existing Domain
When operating an Active Directory Domain environment, it is a good idea to configure more than one domain controller for redundancy in case something should happen to one of the servers.we will add the additional domain controller later.
2 Add a domain controller to an existing forest
if you want to add domain to exiting forest you can chose this option. you know there can be multiple domains in forest but you should have forest to add the new domain.
3 Add a new forest
Add a new forest if there is no existing forest. means we are going to build an new forest.
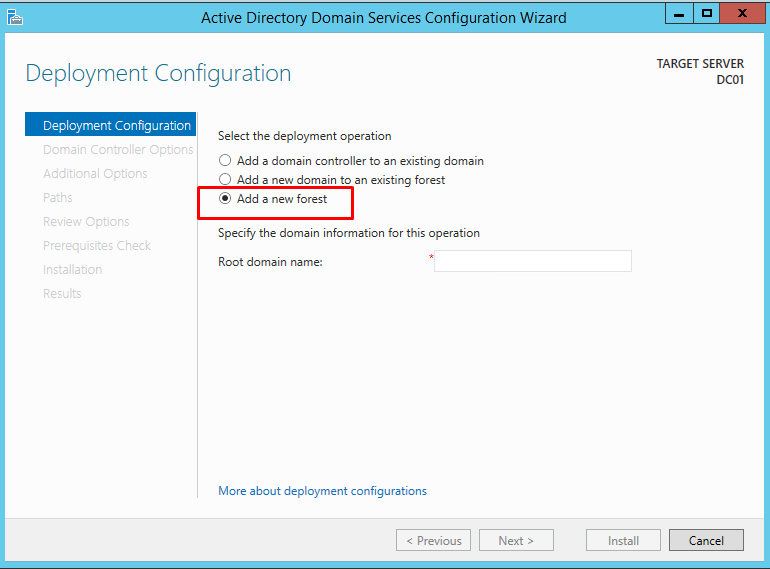
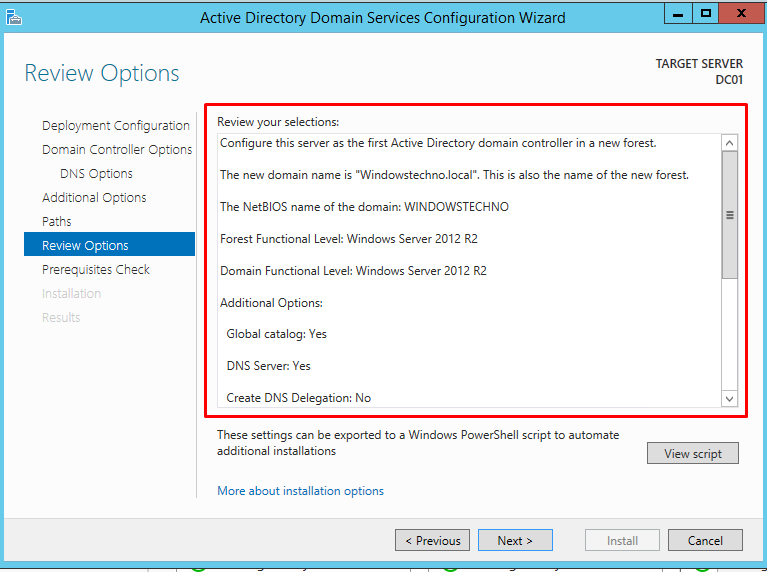
Select the Add new a Forest radio button and provide Root domain name in the text box.I will enter windowstechno.local and click “Next”
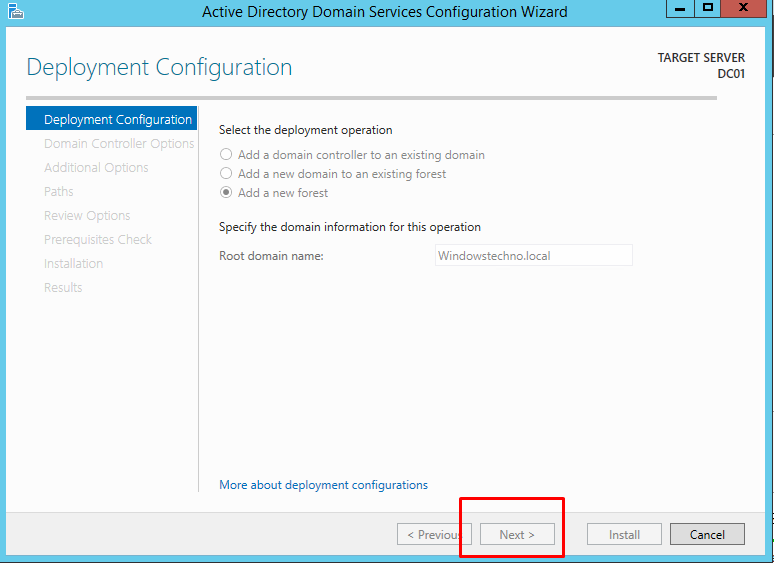
Press Next button to continue
The next screen is the Domain Controller Options screen.
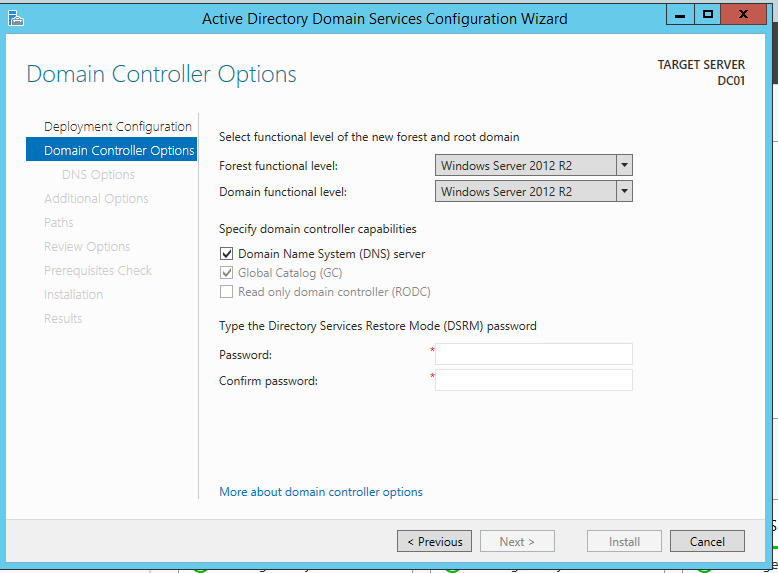
Functional Level
Since this is our first 2012 R2 DC in the forest I’m going to leave the forest and domain functional level at Windows Server 2012 R2. NOTE: If you are adding an additional domain controller to an existing forest you need to understand what functional level to set.
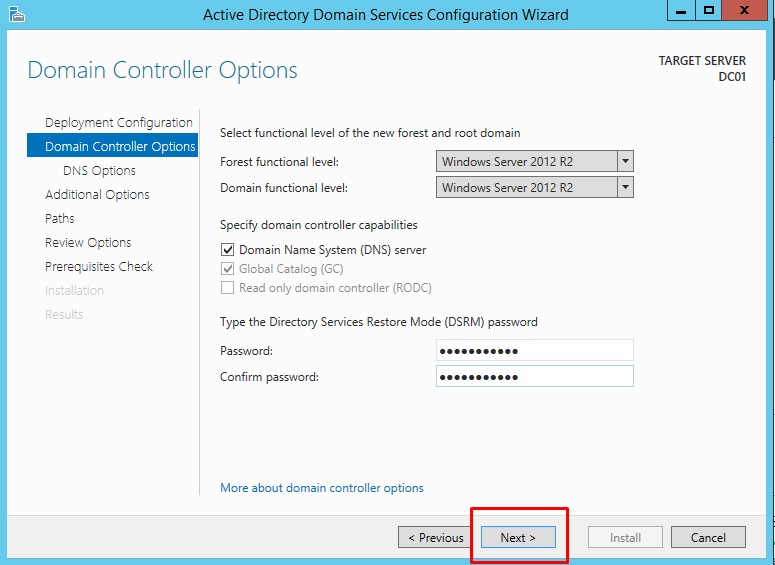
Enter the Password of your choice in Password and Confirm password fields and Keep other settings on default. Press Next button to continue
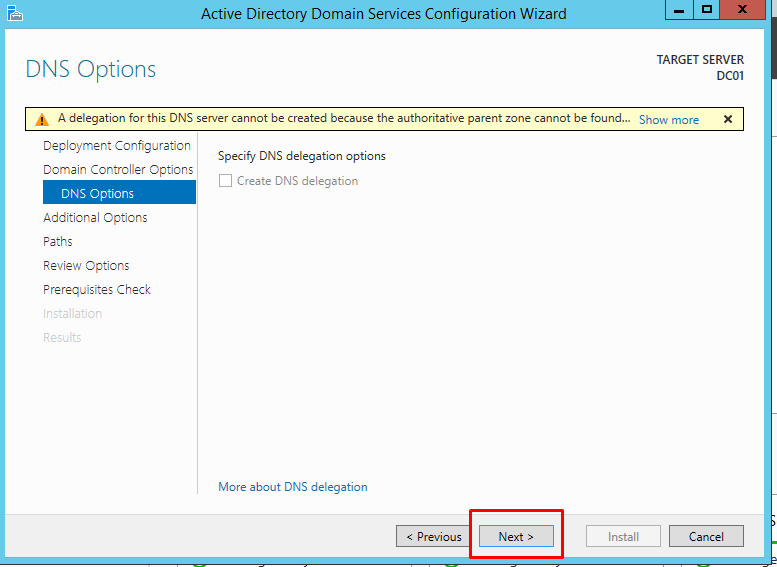
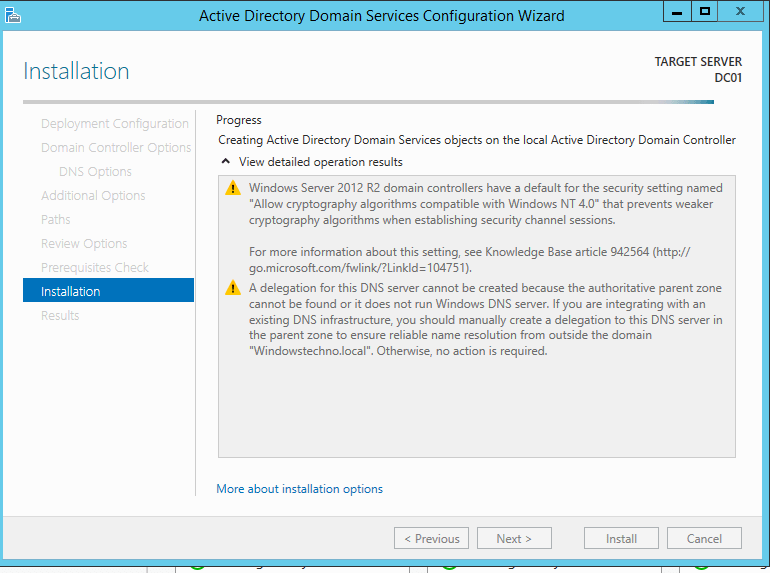
DNS Delegation options
You will most likely receive the error below that says “A delegation for this DNS server cannot be created….” This is common. The wizard is trying to contact the name servers for the domain I entered windowstechno.local and is unable to create a delegation for the sub-domain windowstechno.local. This message can be ignored if you don’t need computers from the outside of the network to be able to resolve names within your domain.
More info on this error https://technet.microsoft.com/en-us/library/cc754463(WS.10).aspx
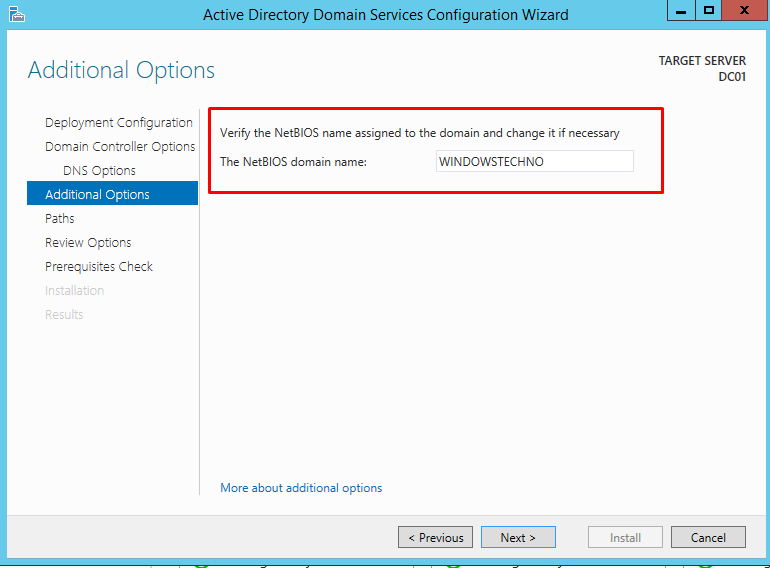
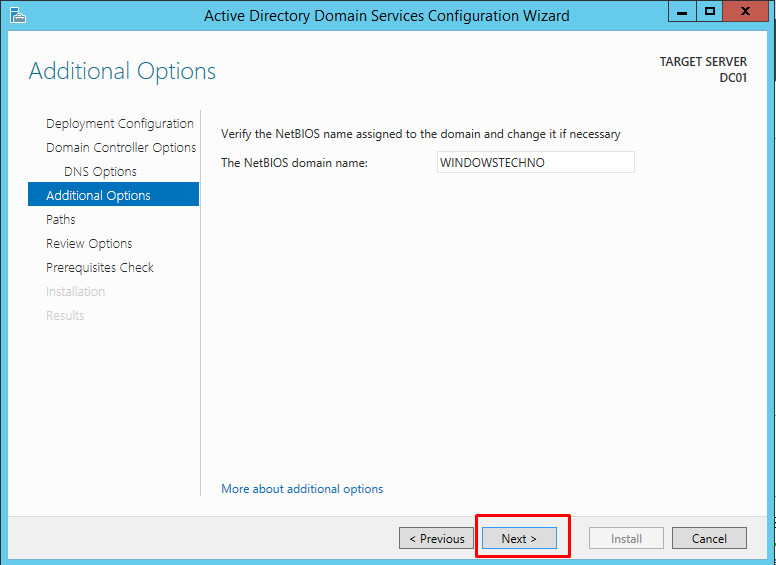
Additional Options
Enter the NetBois domain name on the additional options page. I would recommend making this the same as your root domain name. In my case the NetBois name would be windowstechno. There are several restrictions on creating a NetBios name, more details here https://support.microsoft.com/en-us/kb/909264
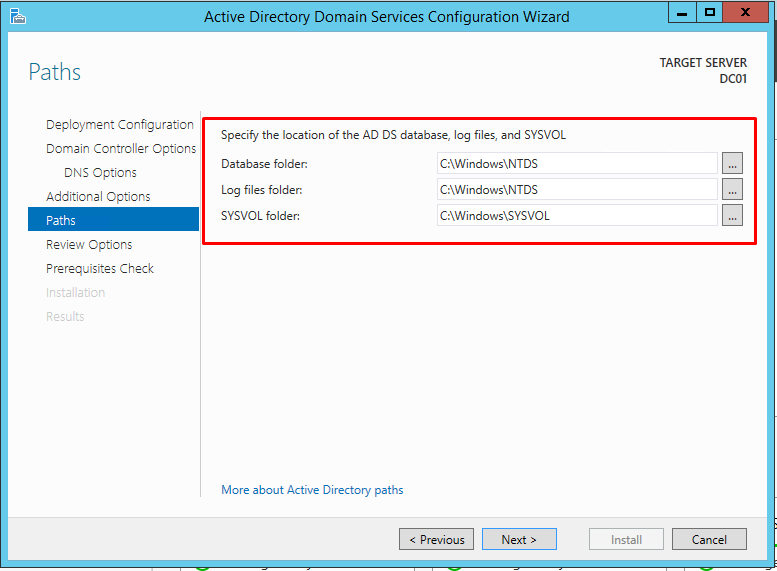
On the Paths screen , you can leave all the settings as is it and press Nextbutton to continue
Enter the desired folder settings and click “Next” I personally stick with the default folder settings.
Click new button you will see below window
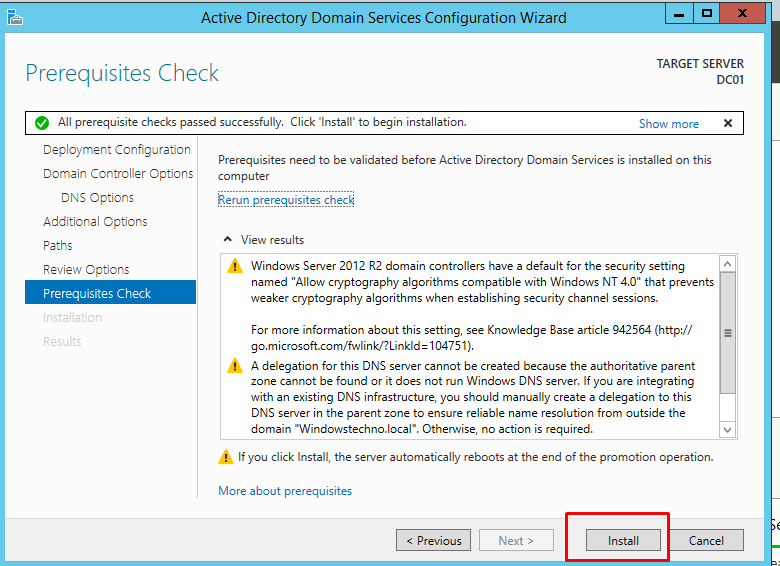
You will be landed on Prerequisites Check screen. This takes several minutes to complete the check. once, test is completed.
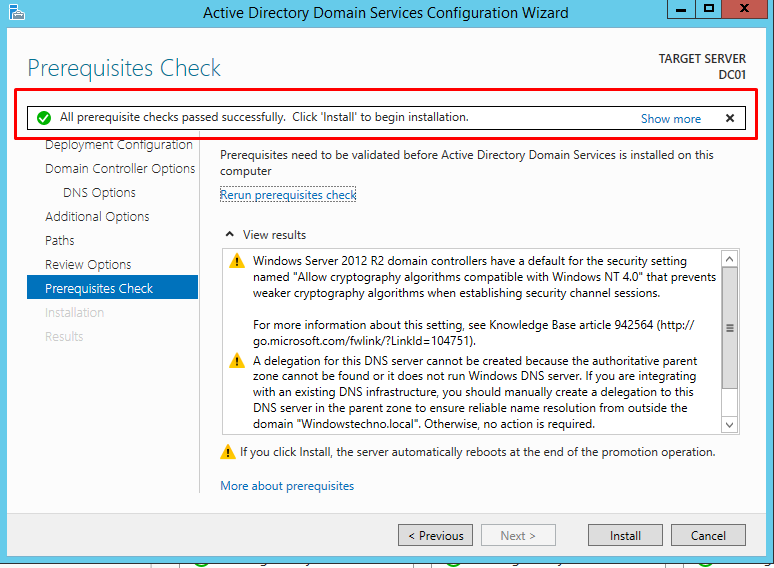
Press the Install button
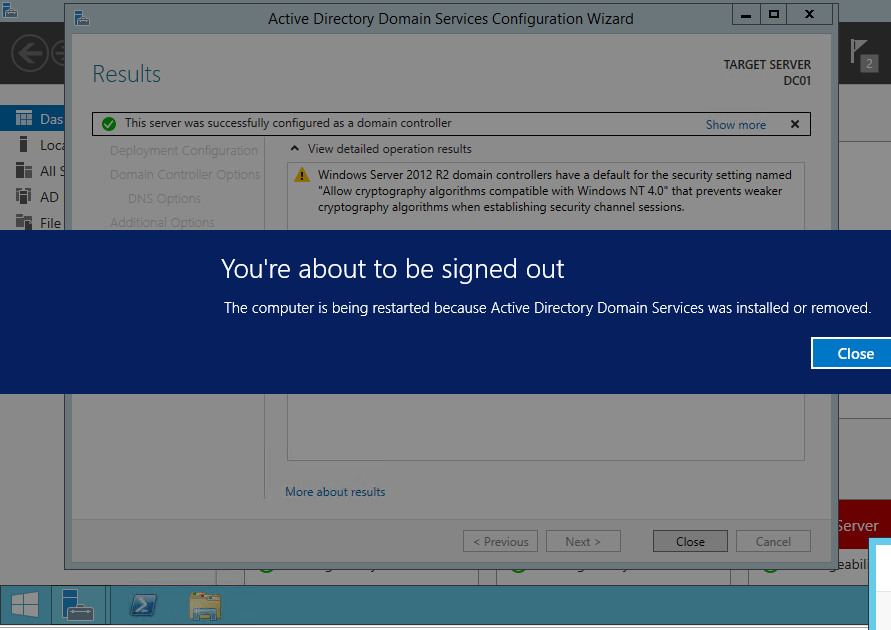
Now, you are on last screen of the Active Directory Domain Services Configuration Wizard. This Installation screens shows the installation progress.
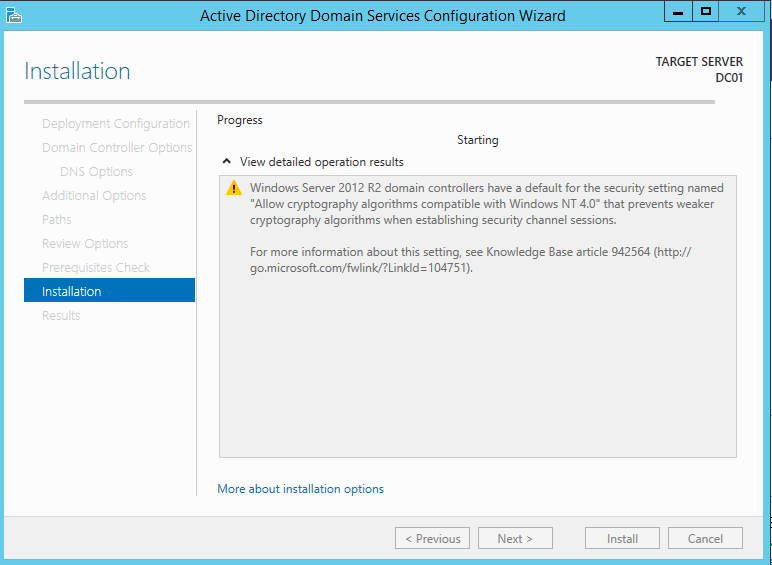
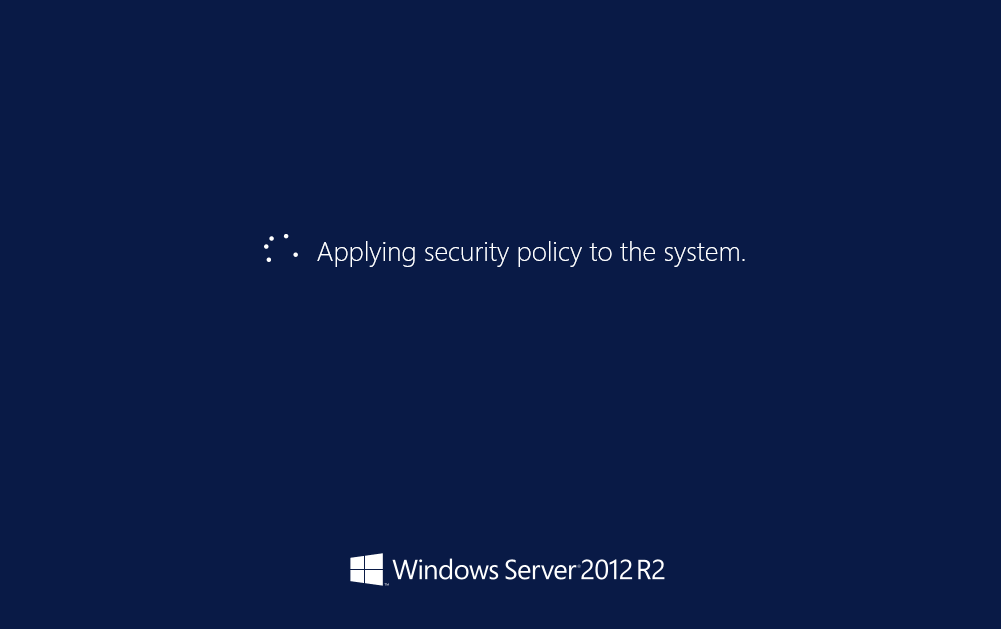
Once active directory domain services installation is completed, your server will restart automatically.
After, your system restarted. you should be able to able to login with in domain using the Domain credentials
Example. windowstechno\administrator
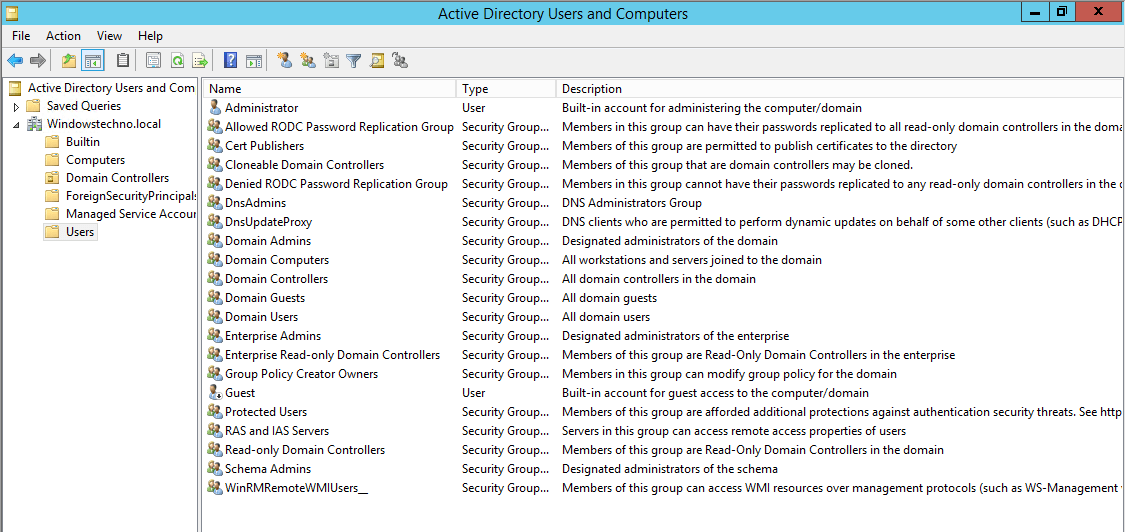
Now, you can use the Active directory Users and Computers administrator tool to create the users and groups
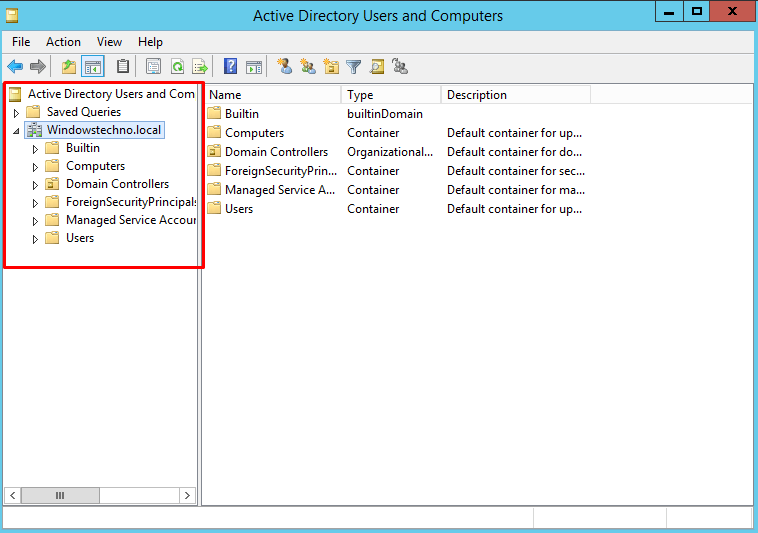
Verify all the domain details by browsing the Node of Users Folder in Left panel of the screen.
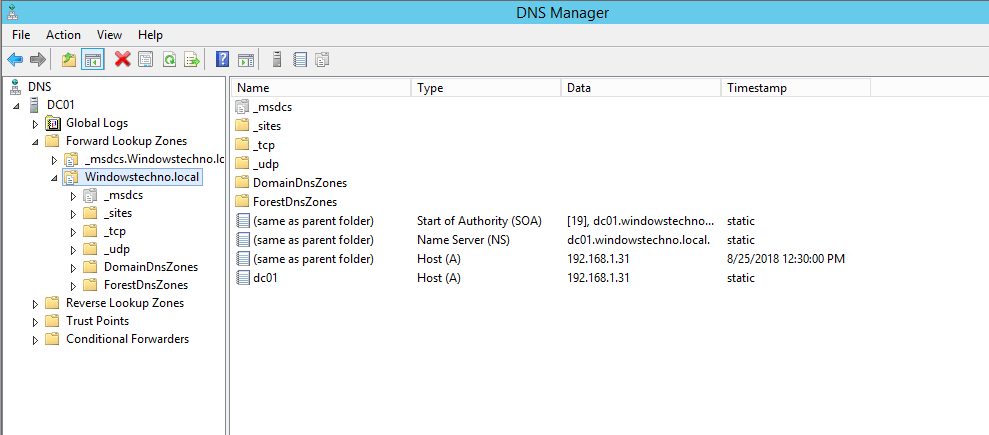
Open the DNS console to verify the active directory installation.
So, that’s all in this blog. I will meet you soon with some other stuff. Have a nice day !!!
Recommended content
RODC Installation Guide- Step by step guide to install read only domain controller
RODC Filtered Attribute Set
Installing and configuring a RODC in Windows Server-2012
How to find the GUID of Domain Controller
Understanding Group Policy Preferences
Group Policy Verification Tool GPOTool Exe
Group Policy Health Check on Specific Domain Controller
Netlogon Folder in Active Directory
Custom Attributes in Active Directory
Tombstone Lifetime of My Active Directory Forest
Computers AD Site From the Command Line
Active Directory Database Integrity
Disabling and Enabling the Outbound Replication
DFS Replication Service Stopped Replication
Strict Replication Consistency
The replication operation failed because of a schema mismatch between the servers involved
Troubleshooting ad replication error 8418 the replication operation failed because of a schema mismatch between the servers
Replication information in txt file
Repadmin Replsummary
Enabling the outbound replication
Guys please don’t forget to like and share the post.Also join our WindowsTechno Community and where you can post your queries/doubts and our experts will address them .
You can also share the feedback on below windows techno email id.
If you have any questions feel free to contact us on admin@windowstechno.com also follow us on facebook@windowstechno to get updates about new blog posts.