Steps to Create Bootable Pendrive using CMD
Hello All,
Hope this post finds you in good health and spirit.
This post is regarding how we can create Bootable Pendrive using CMD .
What is bootable pendrive?
A Bootable pendrive, also called bootable USB, it enables your computer to start up from the USB instead of booting up from installed system. Generally, there are 3 purpose to creating such pendrive:
- To install Windows OS on a computer. If your PC is brand-new and doesn’t yet have Windows installed, you may obtain the Windows installation file from Microsoft and use CMD to create a USB stick (Command Prompt).
- Having a portable system This bootable pendrive includes a complete copy of the Windows operating system. Anywhere you go, you may use it to run a certain system on any other machine.
- Make a bootable tool for repair. Your computer could sometimes have a booting problem. To repair the system disc, a repairing pendrive can boot into WinPE mode.
Create a Bootable USB Flash Drive
Sometimes bootable pen drive is also referred to as bootable USB. It is a disk that can boot up your computer if you don’t have any operating system. i.e. a standalone storage which can boot up your computer.
Steps to Create Bootable Pendrive using CMD
CMD is available on all of the window’s computers, so you would not have to worry about downloading any new package or software to make your pendrive bootable. It is a bit lengthy process but its traditional method and always works:
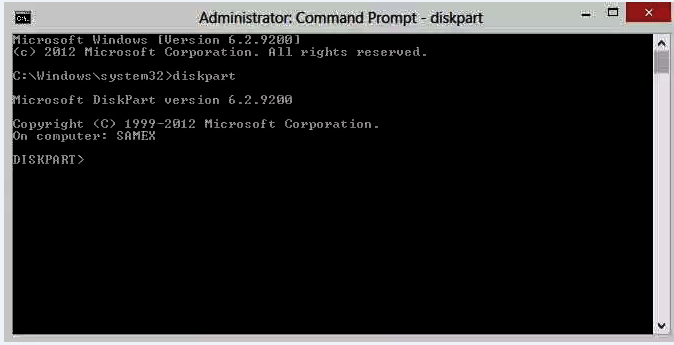
- Run Command Prompt as Administrator.
- Connect your pendrive to your computer.
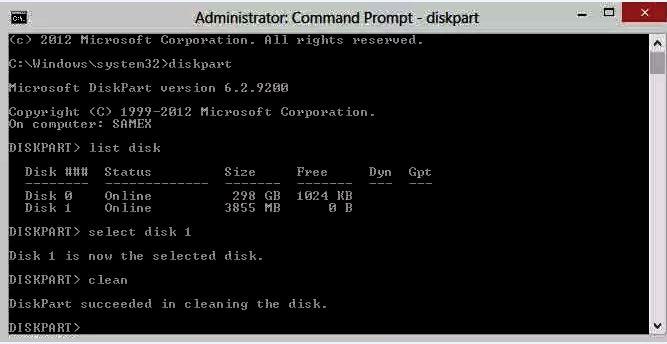
- Type disk part and press enter.
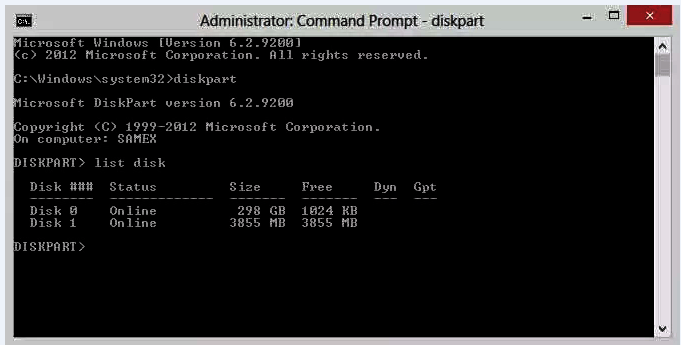
- Type list disk and press enter. This will list all the storage device available on your computer.
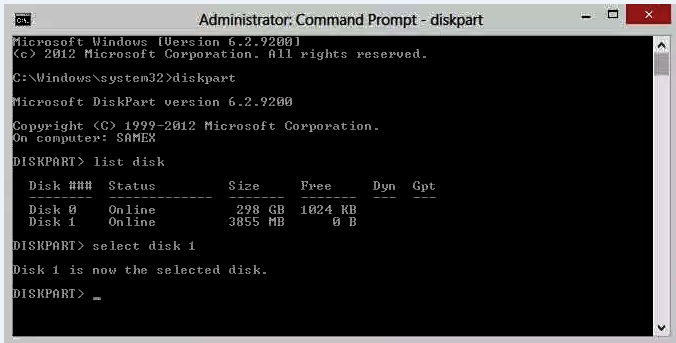
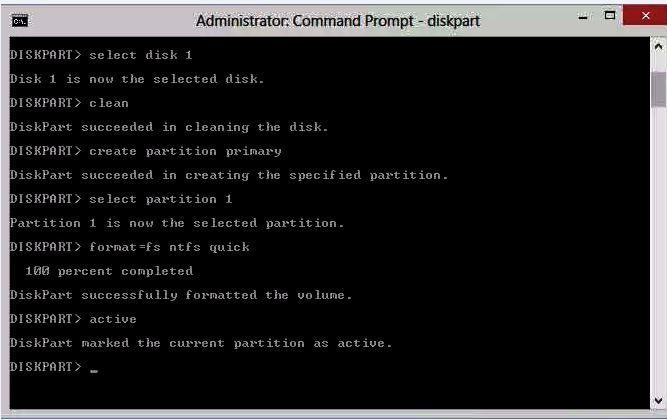
- Choose your pendrive. For that type select disk 1 and press enter.
- Type clean and press enter. This will erase all data from your pendrive.
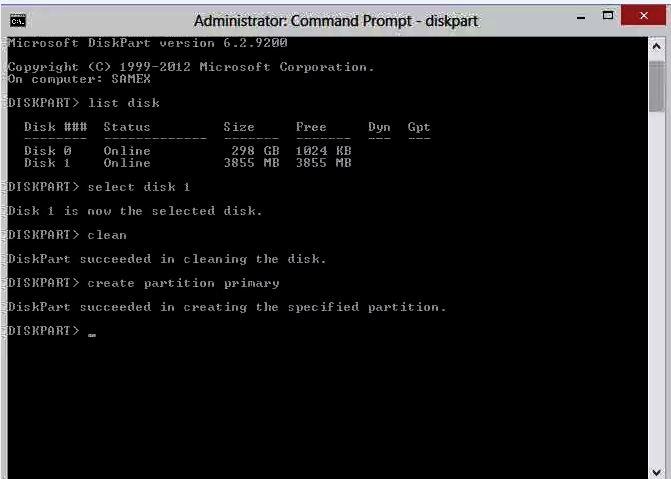
- Type create partition primary and press enter
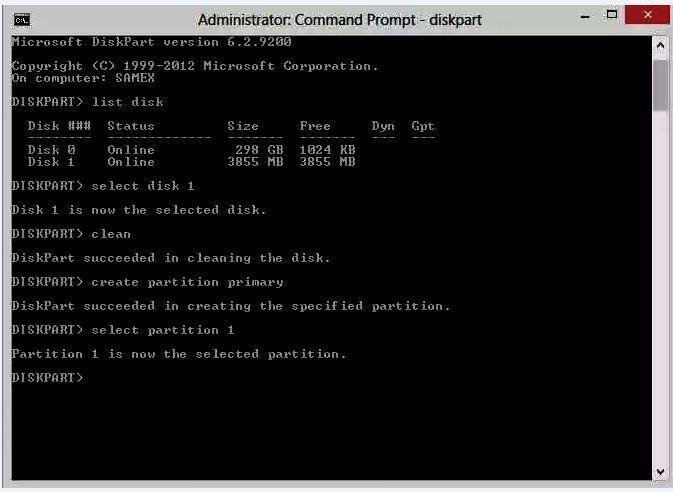
- Type select partition 1 and press enter. This will choose the partition we just created
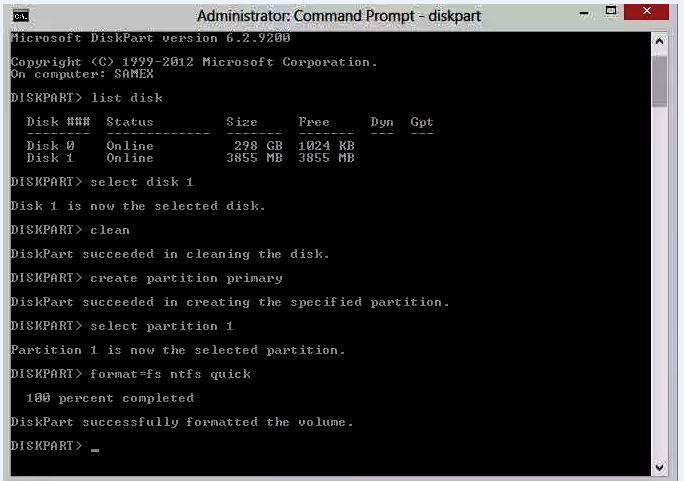
- Type format=fs NTFS quick and press enter. This will perform a quick format with the NTFS file system.
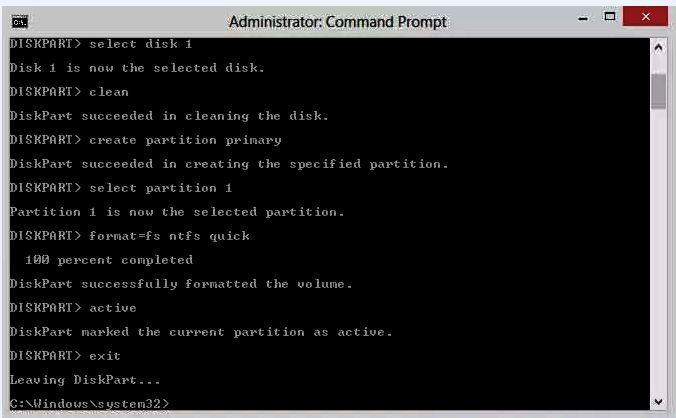
- Type active and press enter. This will mark your primary partition as active
- Type exit and press enter to exit disk part and then close the command prompt.
- Now transfer all the data from the OS installation disc (Windows, Linux, etc.) to your newly bootable USB stick. Now, the selected Operating System may be installed on any machine using this Pendrive.
Now your pendrive is bootable having desired windows installation.
So, that’s all in this blog. I will meet you soon with next stuff. Have a nice day!!!
Guys please don’t forget to like and share the post. Also join our WindowsTechno Community and where you can post your queries/doubts and our experts will address them.
You can also share the feedback on below windows techno email id.
If you have any questions feel free to contact us on admin@windowstechno.com also follow us on facebook@windowstechno to get updates about new blog posts.