Deploy Domain Controller using Install From Media (IFM)
Deploy Domain Controller using Install From Media (IFM)
The following tutorial will show us how to deploy a Domain Controller using the Install from Media option (IFM). This tutorial will also help you prepare for the 70-742 certification exam. Before we dive into the step-by-step part of this article, let’s look at the reasons why we would do an IFM install in the first place. The reason itself is pretty simple.
In a case where we have branch offices with very low WAN links or a very big AD forests, we would need a lot of time to replicate that data from the HQ domain controllers to the Branch Office ones. Because of this IFM, helps us download all of the AD database and registry settings from our Primary Domain Controller (PDC) to flat files that we can then copy onto a flash drive or a DVD and bring to the branch office.
We can start the DC installation locally, which will pull all the data from those files instead of replicating it over the network. Of course, if any changes have been done in AD since you did a dump of the AD database, the installation will replicate those changes from any domain controller in the forest.
Now let’s dive into the step-by-step guide. To create a dump of the AD Forest we will use ntdsutil. Did you know that originally Active Directory Domain Services was called New Technology Directory Services? Thus the ntds in ntdsutil.
Before you proceed
Before you proceed with the Install From Media (IFM) method, you will need to know some basic things.
- The IFM method, obviously, can not be used for the first Domain Controller of a forest but for adding an extra DC
- The media file should be created by a DC from the same AD domain
- If the new DC will be a Global Catalog (GC) server, then the media file should be created by a DC which is also a GC server
- If the new DC will be a DNS server, the media file should be created by a DC with a DNS role installed
- If you deploy an RODC, you can create the media from either a writable DC or an existing RODC
- The IFM method creates a temporary database in the% TMP% folder, so make sure there is enough available space on the folder location
Installing Active Directory using the Install From Media (IFM) method
As you may have already understood, the process is done in two basic steps, first in an existing Domain Controller from where we will create the media file and second in the new DC or RODC that will import the file we created when installing Active Directory.
In the existing Domain Controller
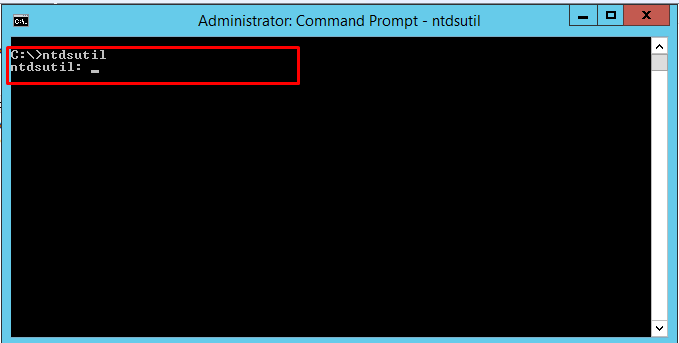
- Log on to DC01, as windowstechno\administrator, then open the Command Prompt, type NTDSUTIL and press Enter.
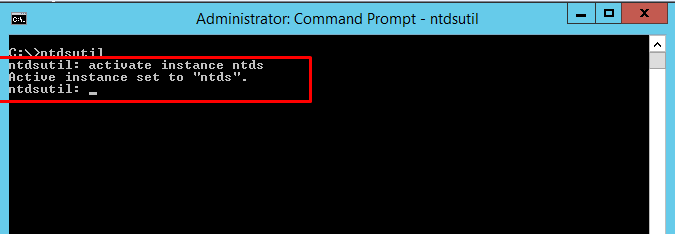
- At the ntdsutil prompt, type Active instance NTDS and then press Enter.
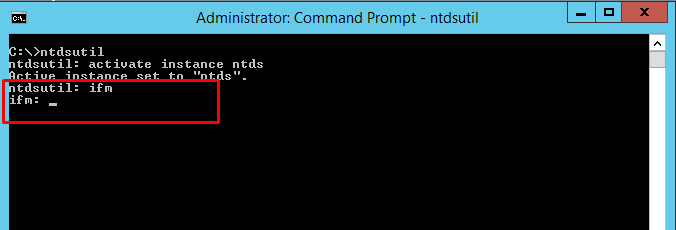
- At the ntdsutil prompt, type ifm and then press Enter.
- At the ifm prompt, type create sysvol full C:\ifm
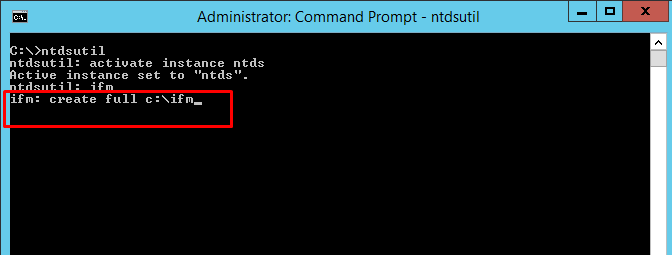
- Press Enter.
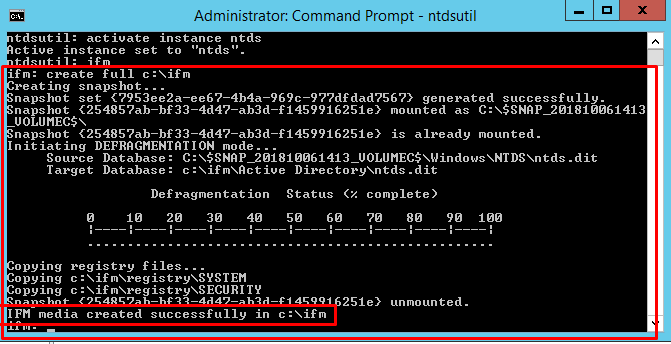
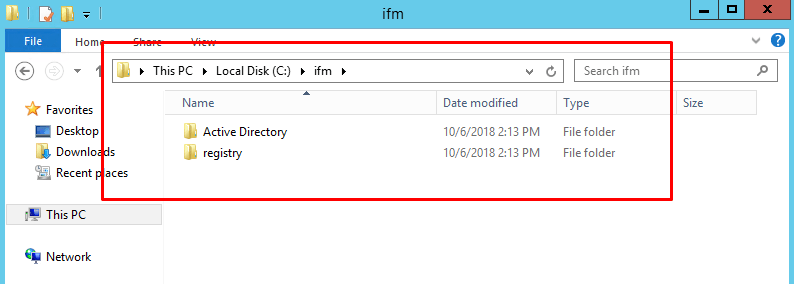
- Type, quit, quit. Open the IFM folder to confirm that the file is there.
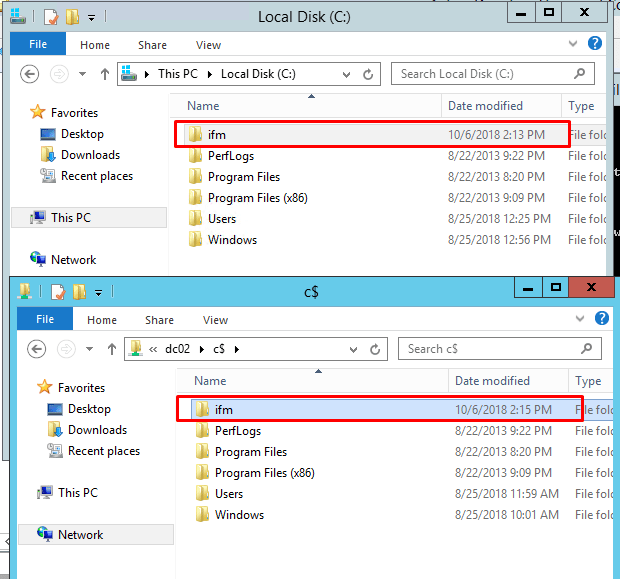
- Next, make sure you share the IFM folder so that the other remote server can access to ADDS server and copy IFM server from the ADDS Server to remote side server
First, install the Active Directory Domain Services role either through Server Manager or PowerShell. I will not mention the same procedure here because there is already a detailed guide to that procedure. Also, for the same reason, I will only refer to the point where you declare the folder and not specifically to the process of promoting the server to a Domain Controller. I remind you that you will need to enable
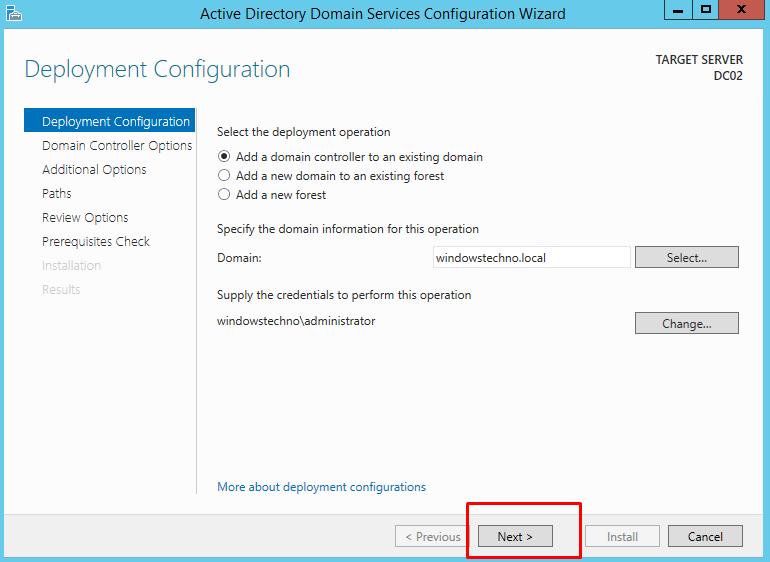
Add a domain controller to an existing domain as the new DC should be in the same domain from where you created the file. Once ADDS installed please open the server manager and Select the yellow notifications icon in the top navigation bar of the Server Manager window. 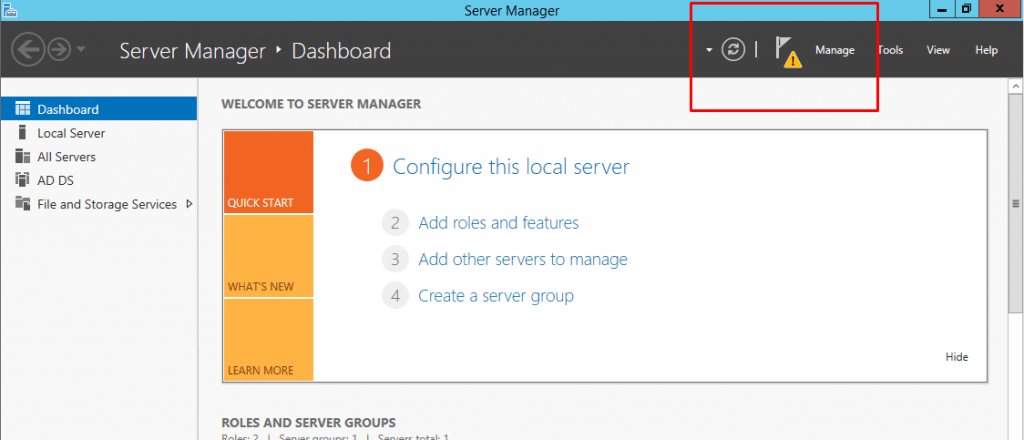
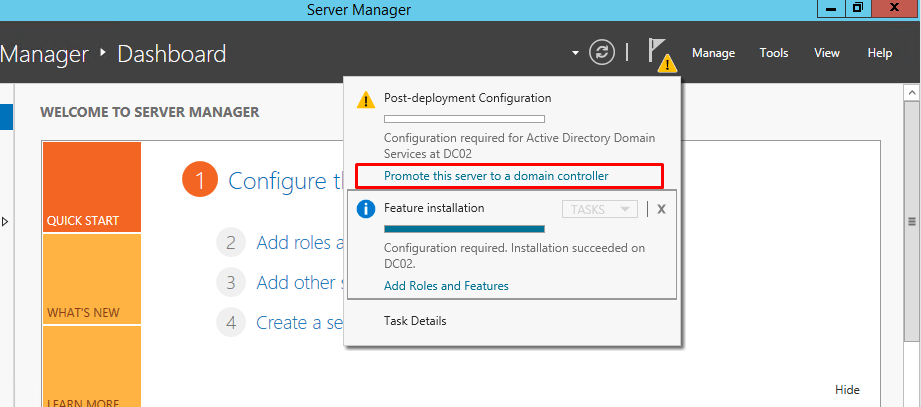
- The Notifications Pane opens and displays a Post-deployment Configuration notification. Click the Promote this server to a domain controller link that appears in the notification.
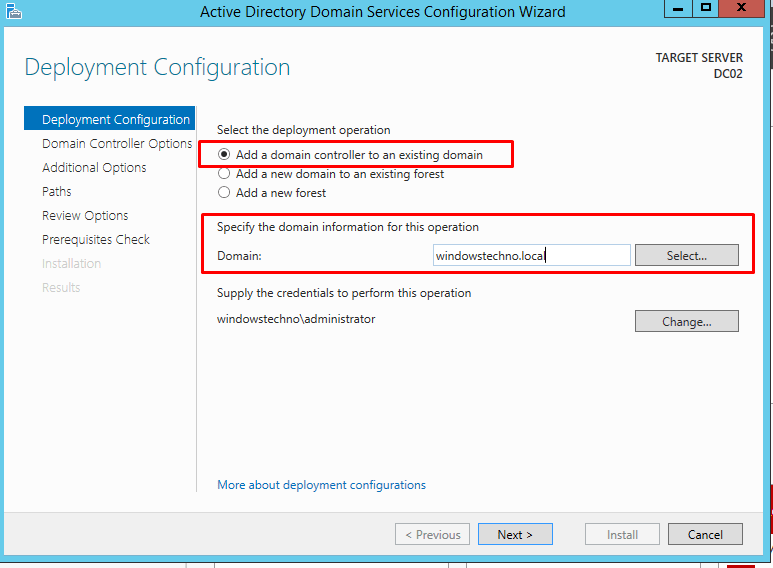
- Click on Add a domain controller to an existing domain and type the domain name as “Windowstechno.local”
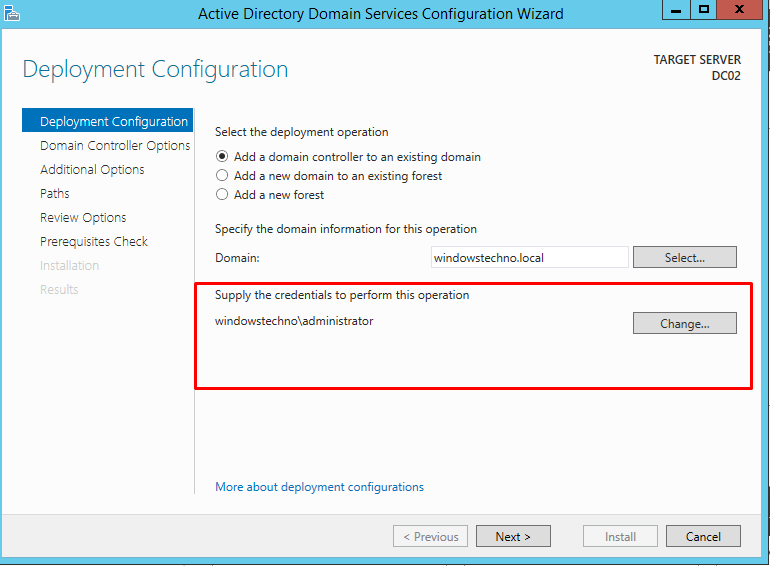
- Enter the domain admin credentials to promote this server.
- Click on next button.
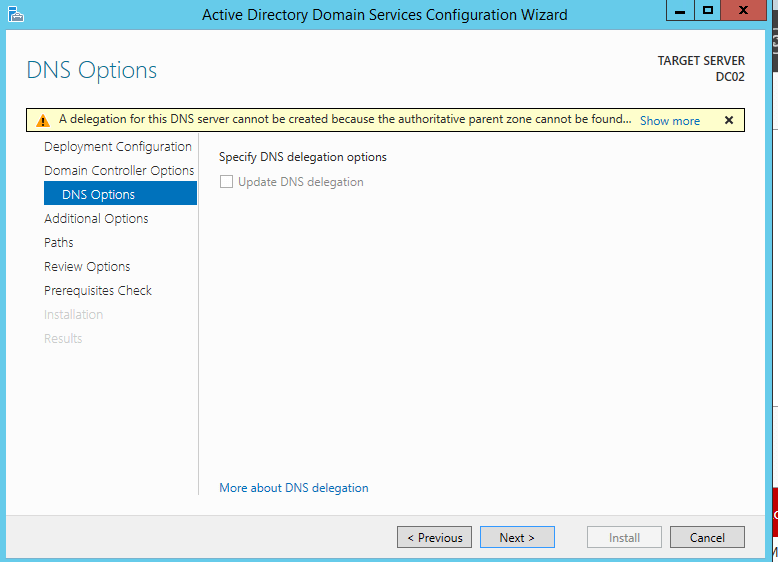
- On the Domain Controller Options page select DNS or GC during this installation,
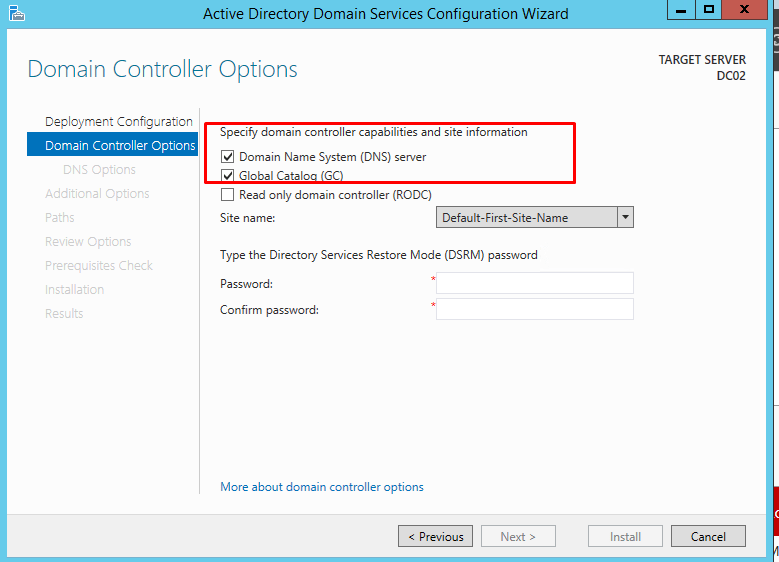
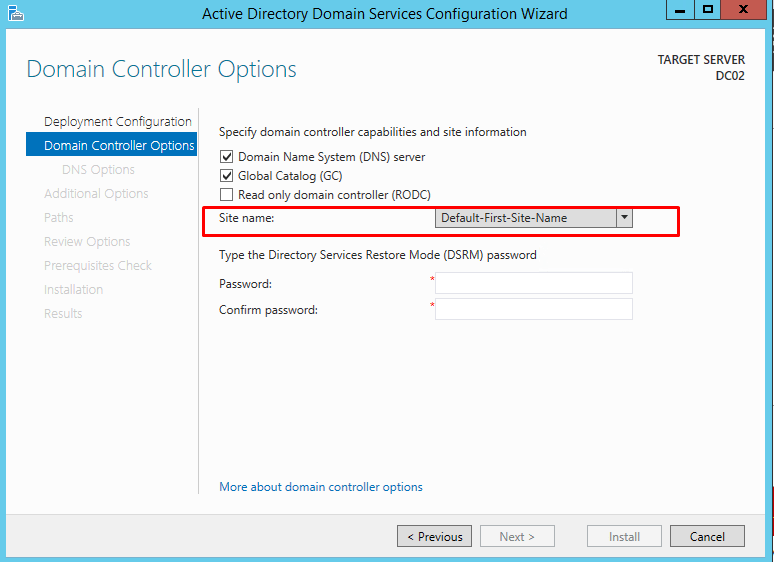
- Note: If the domain controller were located in a different site, the site name would have been pre-selected for that site if defined in ADDS.
- Enter a desired DSRM Password,
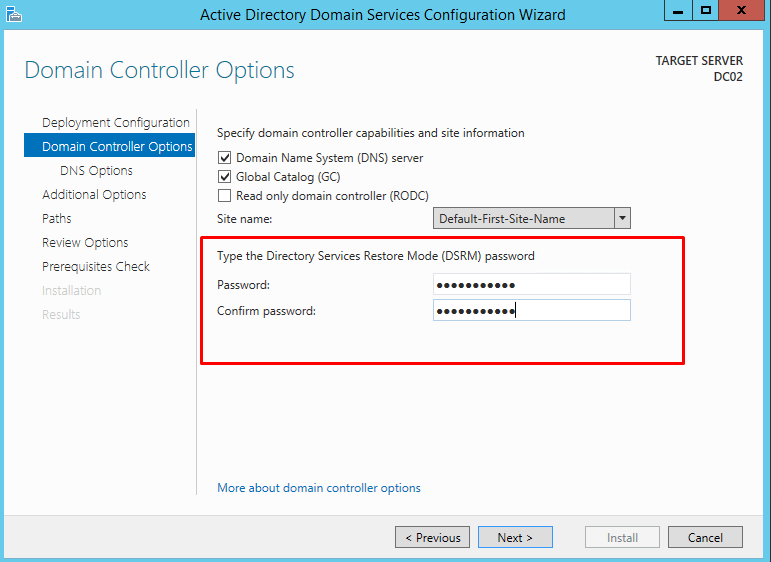
- click Next.
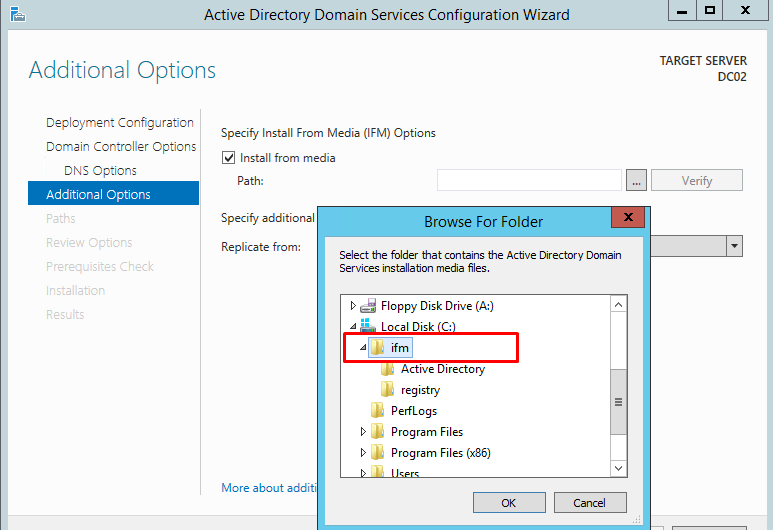
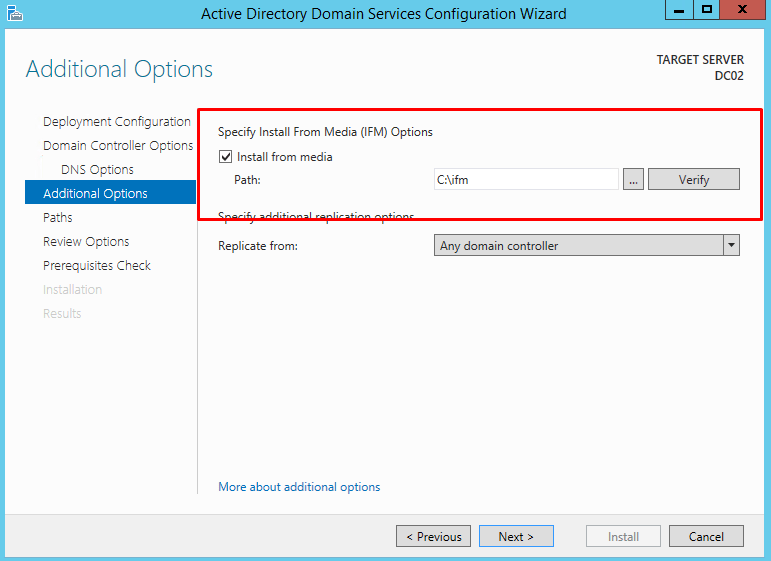
- As you go through the Deployment Configuration wizard, in the Additional Options section, enable the Install from media option
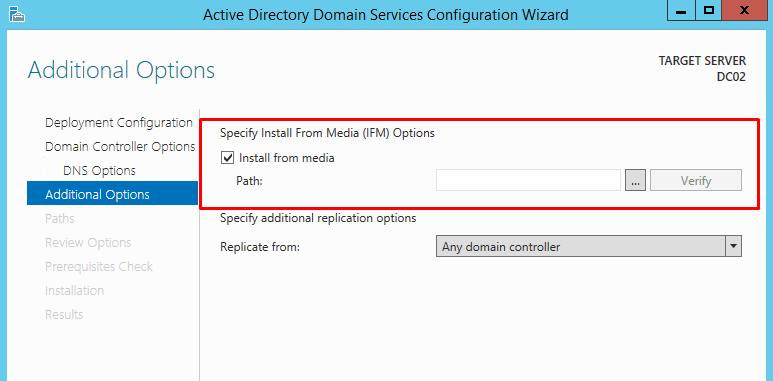
- And select the folder where the media file you created.
- Click on Verify to confirm that the file is in good condition, Don’t change replication from”Any domain controller” option and click next.
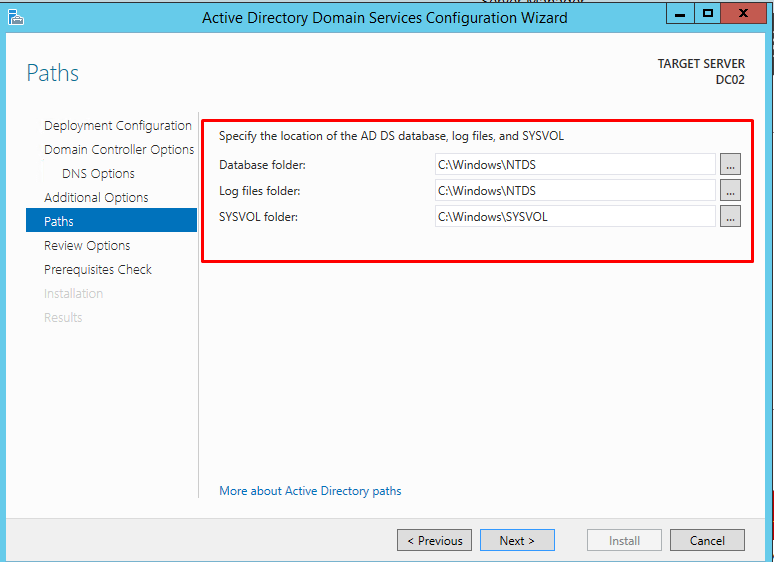
- On the Path click next to continue
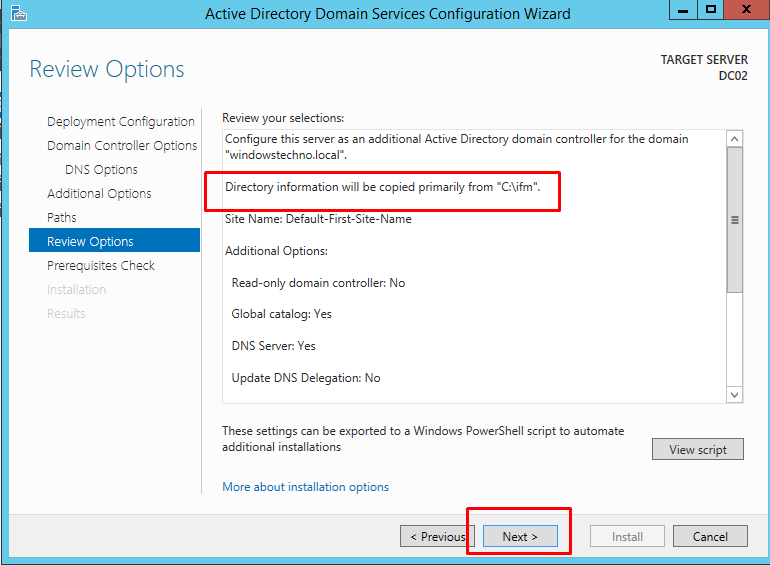
- In the Review Options section, you will see that the folder you have previously specified is selected.
- Prerequisites check
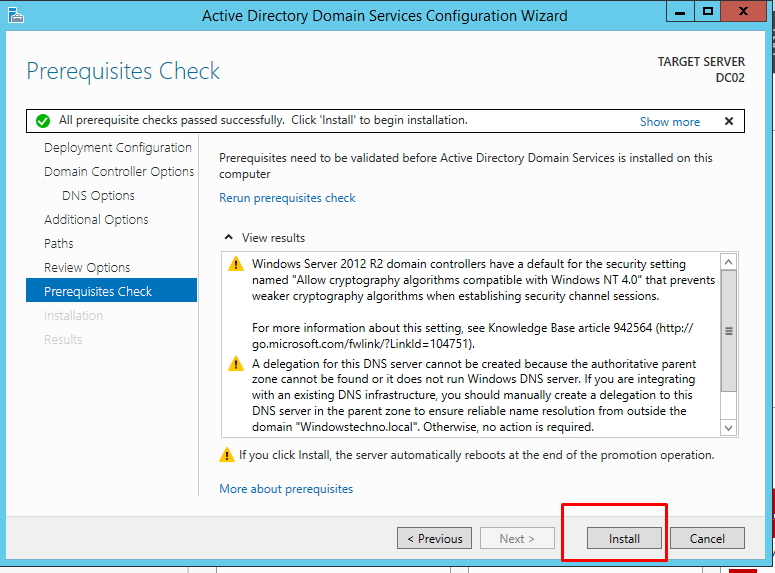
- Click on install button.
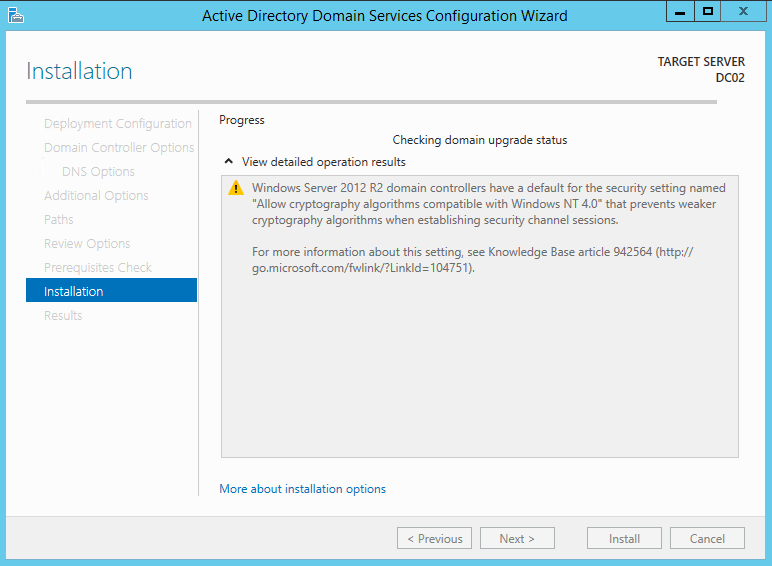
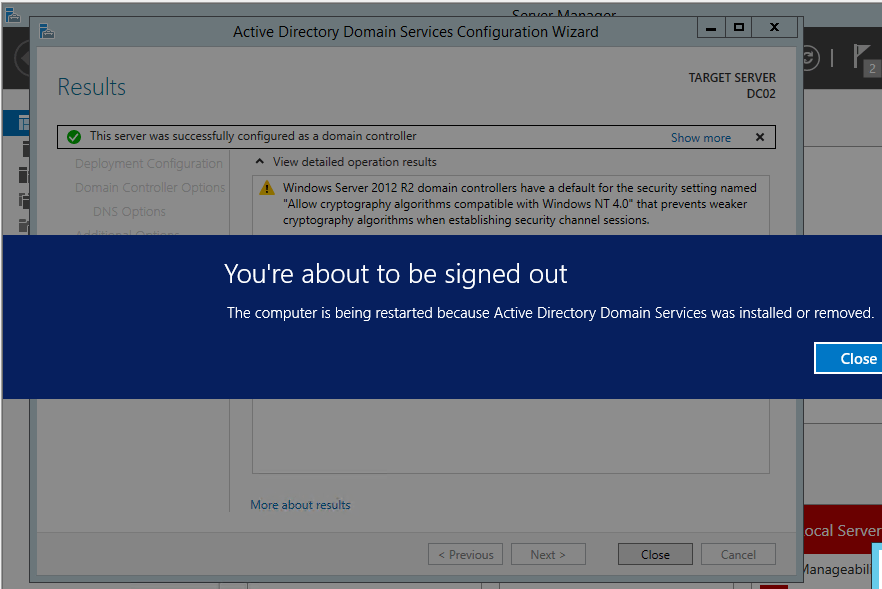
- Then complete the wizard and after the restart, your new Domain Controller is almost ready.
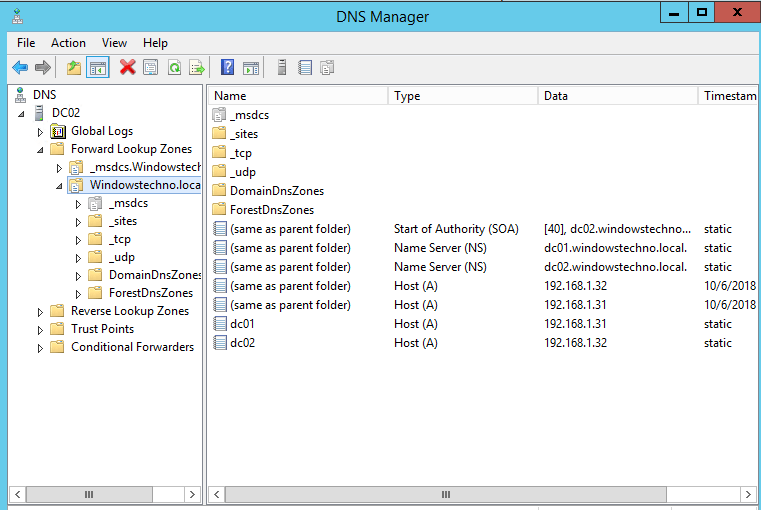
- Almost because now will only need to replicate the objects that have changed since the creation of the file so far that they are obviously much smaller in size. On the last step, check on the Remote Side Server (DC01) to confirm that all the Domain Controller information has been deploy successfully.
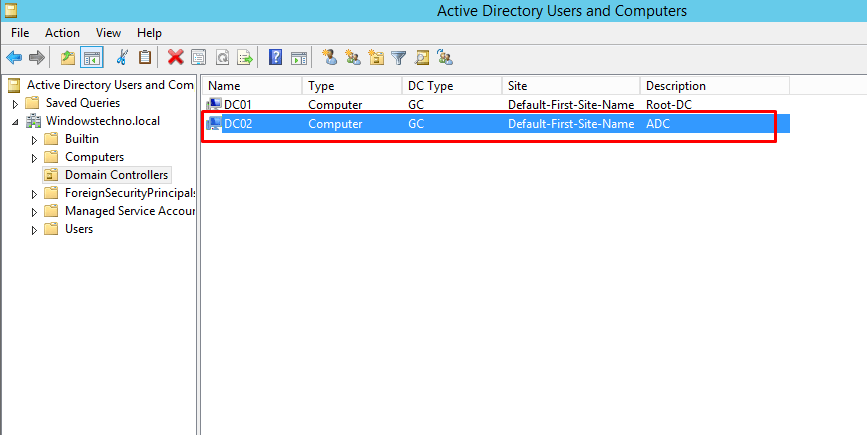
- Verify the domain controllers OU
In general, you should not leave a long time (eg> 30 days) from creating the file to deploying the new DC.
So, that’s all in this blog. I will meet you soon with next stuff .Have a nice day !!!
Recommended contents
How to Check the Active Directory Database Integrity
Disabling and Enabling the Outbound Replication
DFS Replication Service Stopped Replication
What is Strict Replication Consistency
The replication operation failed because of a schema mismatch between the servers involved
Troubleshooting ad replication error 8418 the replication operation failed because of a schema mismatch between the servers
How to export replication information in txt file
Repadmin Replsummary
Enabling the outbound replication
Disabling and enabling replication on schema master domain controller
How to enable strict replication consistency
How to prevent lingering objects replication in active directory
AD replication process overview
How to force active directory replication
Change notification in replication process
How to check replication partner for a specific domain controller
dcdiag test replications
Guys please don’t forget to like and share the post.Also join our WindowsTechno Community and where you can post your queries/doubts and our experts will address them .
You can also share the feedback on below windows techno email id.
If you have any questions feel free to contact us on admin@windowstechno.com also follow us on facebook@windowstechno to get updates about new blog posts.